
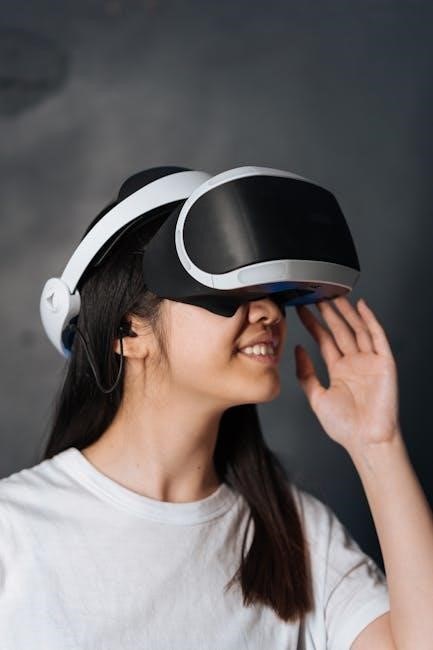
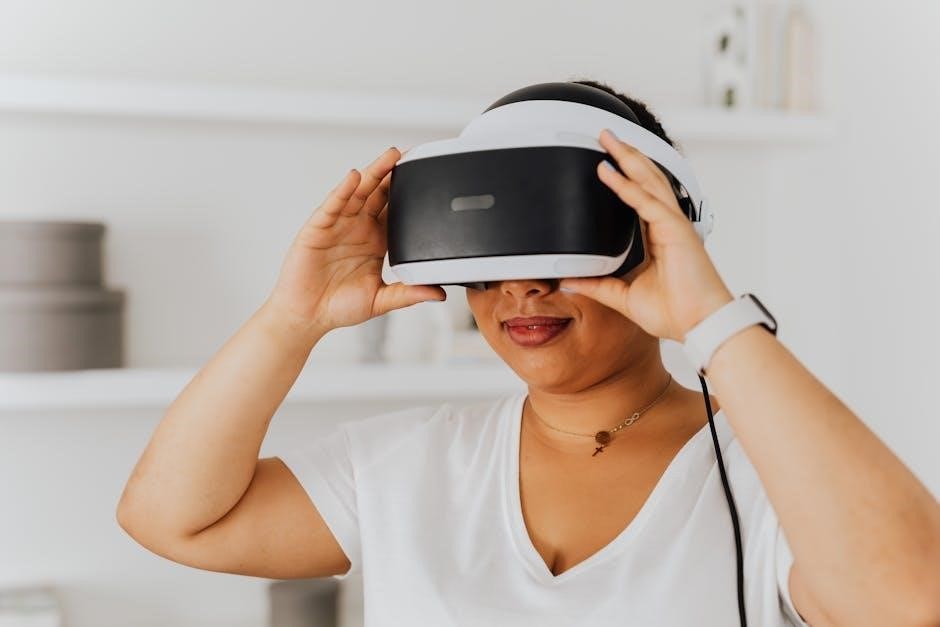
Plantronics headsets are renowned for their versatility, comfort, and innovative technology, catering to office, call center, and mobile environments․ With wireless and wired options, they offer crystal-clear audio, noise cancellation, and durability, ensuring seamless communication․ Popular models like Voyager and Savi series deliver advanced features, long battery life, and sleek designs, making them ideal for professionals seeking reliable and high-quality headsets․
Overview of Plantronics Headset Models
Plantronics offers a diverse range of headset models tailored for different needs․ The Voyager 8200 UC is a dual-mode active noise-canceling headset ideal for professionals seeking premium sound quality․ The Savi 8200 Series provides advanced wireless connectivity with long battery life, suitable for office environments․ The CS540 is a lightweight wireless headset with a roaming range of up to 100 meters, perfect for call centers․ For mobile users, the Explorer 380/390 series delivers clarity and comfort on-the-go․ Each model is designed to enhance audio performance, ensure durability, and provide ergonomic comfort, catering to various workstyles and preferences․
Key Features and Benefits
Plantronics headsets boast cutting-edge features designed to enhance user experience․ Advanced noise cancellation ensures clear audio in noisy environments, while dual-device connectivity allows seamless switching between calls and media․ Long-lasting battery life, up to 15 hours in some models, provides uninterrupted use throughout the day․ Ergonomic designs offer all-day comfort, with adjustable headbands and interchangeable ear tips․ Enhanced microphone technology improves speech clarity, and intuitive controls simplify call management․ Compatibility with leading communication platforms ensures integration with tools like Teams and Zoom․ These features combine to deliver reliability, flexibility, and superior performance, making Plantronics headsets a preferred choice for professionals and casual users alike․

Setting Up Your Plantronics Headset
Setting up your Plantronics headset involves unboxing, preparing the device, and pairing it with your phone or computer for seamless communication and optimal performance․
Unboxing and Preparing the Headset
Start by carefully unboxing your Plantronics headset, ensuring all components are included, such as the headset, charging base, and accessories․ Before use, remove any protective packaging and attach the eartip and earloop if provided․ Familiarize yourself with the headset’s features, including the mute button, volume control, and charging ports․ For optimal performance, charge the headset fully before initial use․ Proper preparation ensures a smooth setup process and enhances your overall user experience․
Installing the Headband and Eartips
Begin by removing the eartip and earloop from the headset to prepare for installation․ Align the headband with the headset, ensuring proper fit and orientation․ Gently insert the headset into the headband, following the provided alignment guide․ Rotate the headset upward to secure it in place․ Adjust the headband size for a comfortable fit․ For optimal performance, push the headset in so the microphone is positioned near the corner of your mouth․ Ensure the eartip and earloop are reattached securely․ Proper installation ensures a stable and comfortable fit, ready for pairing and use․
Pairing the Headset with Your Device
To pair your Plantronics headset with your device, start by turning on the headset․ Press and hold the Call button along with the Volume (+) button until the indicator light flashes blue twice, indicating pairing mode․ On your device, navigate to the Bluetooth settings menu and search for available devices․ Select your Plantronics headset from the list․ If prompted, confirm the pairing by entering the default passcode, typically “0000” or “1234․” Once connected, the indicator light will stop flashing․ Your headset is now paired and ready for use․ Ensure the connection is stable by testing audio playback or making a call․
Using Your Plantronics Headset
Plantronics headsets offer seamless communication with intuitive controls․ Make and receive calls effortlessly, adjust volume, and mute with convenient buttons․ Enjoy crystal-clear audio and hands-free convenience․
Making and Receiving Calls
Making and receiving calls with your Plantronics headset is straightforward․ To answer an incoming call, press the call button located on the headset․ For ending a call, press the same button․ Adjust the volume using the dedicated controls for optimal audio clarity․ Ensure the microphone is positioned close to your mouth for clear voice transmission․ If your headset supports mute, use the mute button to pause audio during calls․ For redialing, press and hold the call button until the last dialed number is displayed․ Always check the LED indicator for call status and ensure proper pairing for uninterrupted communication․
Adjusting Volume and Sound Settings
Adjusting the volume on your Plantronics headset is simple․ Use the plus (+) and minus (-) buttons on the headset to increase or decrease the volume․ Ensure the microphone is positioned correctly for clear audio․ Access the sound settings through the device it’s connected to, such as a phone or computer, to fine-tune settings․ Some models allow equalizer adjustments via Plantronics software․ For optimal audio, enable noise cancellation if available․ Experiment with settings to achieve the best sound quality․ Regularly check and adjust settings to maintain clear communication and enhance your listening experience․
Using the Microphone and Noise Cancellation
Position the microphone correctly for clear audio․ Ensure it’s close to your mouth for optimal sound quality․ Activate noise cancellation to minimize background noise․ Adjust the microphone boom to align with your voice․ On some models, press and hold the call button to toggle noise cancellation․ Use the compatibility slide switch to fine-tune audio settings for your phone․ Test the microphone by making a call or recording audio․ If issues arise, restart the headset or perform a hard reset․ Proper microphone placement and noise cancellation settings ensure professional-grade audio for calls and recordings․ Regularly clean the microphone for consistent performance․
Troubleshooting Common Issues
Troubleshooting involves resolving connectivity, audio, and pairing problems․ Check cord connections, restart devices, and ensure proper pairing․ Resetting the headset often fixes persistent issues․ Follow user guides for solutions․
Resolving Connectivity Problems

Connectivity issues often arise from loose connections, interference, or pairing problems․ Ensure the headset is properly paired with your device․ Check that the headset is turned on and in range․ Restart both the headset and device, then re-pair them․ For wired headsets, verify the cable is securely connected․ If using Bluetooth, reset the headset by holding the power button until the light flashes․ Consult the user guide for specific reset instructions․ If problems persist, perform a hard reset or update the firmware․ Ensure Bluetooth is enabled on your device and no other devices are interfering with the connection․
Fixing Audio Quality Issues
To address audio quality problems, ensure the headset is properly fitted and the microphone is positioned close to your mouth․ Adjust the volume settings on both the headset and connected device․ If sound is distorted, check for firmware updates or reset the headset․ For wireless models, ensure the device is within range and there’s no interference․ Clean the microphone and earpiece regularly to remove debris․ If issues persist, perform a hard reset by turning off the headset, disconnecting it from the charging base, and holding the power button until it restarts․ This often resolves audio clarity and connection problems․
Performing a Hard Reset
To perform a hard reset on your Plantronics headset, start by turning it off and disconnecting it from the charging base․ Locate the power button and hold it down for 15-20 seconds until the indicator light flashes․ This process restores the headset to its factory settings․ For specific models like the Poly Voyager 5200 UC, ensure the headset is fully powered off before resetting․ Once the reset is complete, turn the headset back on and attempt to pair it with your device again․ This often resolves persistent connectivity or audio issues․ Always refer to your model’s user guide for exact steps․

Advanced Features and Customization
Plantronics headsets offer advanced features like Bluetooth connectivity, dual-device pairing, and customizable sound settings․ Users can update firmware, adjust noise cancellation levels, and personalize their audio experience for optimal performance․
Enabling Bluetooth and Dual-Device Connectivity
To enable Bluetooth on your Plantronics headset, turn it on and press the Call and Volume Up buttons until the light flashes blue․ This puts it in pairing mode․ Open your device’s Bluetooth settings, select the headset’s name, and confirm the connection․ For dual-device connectivity, pair the headset with a second device, such as a phone or computer, using the same process․ This feature allows seamless switching between calls and audio from both devices, enhancing productivity and flexibility․ Ensure both devices support Bluetooth for optimal performance․ Customization options like noise cancellation and sound settings can further enhance your experience․
Customizing Settings for Optimal Performance
For optimal performance, adjust the microphone boom to ensure it’s positioned close to your mouth for clear audio․ Use the Compatibility Slide Switch to fine-tune sound quality, sliding it until calls sound clear․ Enable noise cancellation to minimize background interference․ Adjust volume levels using the controls on the headset for a comfortable listening experience․ Customize settings like sidetone to hear your own voice during calls․ Experiment with equalizer settings if available to enhance sound quality․ Regularly update firmware to access new features and improvements․ These adjustments ensure a tailored experience, improving both call clarity and user comfort․
Updating Firmware and Software
To ensure your Plantronics headset performs optimally, regular firmware and software updates are essential․ Connect your headset to a computer using the provided cable or via Bluetooth if supported․ Download and install the latest version of Plantronics software, such as Plantronics Hub, from the official website․ Open the software, select your headset model, and follow on-screen instructions to check for updates․ Once updated, your headset will benefit from improved performance, new features, and compatibility enhancements․ After updating, restart your headset to apply changes․ This ensures you have the latest advancements in audio quality, noise cancellation, and connectivity options for an enhanced user experience․

Maintenance and Care
Regularly clean your Plantronics headset with a soft cloth to remove dirt and earwax․ Store it in a protective case when not in use to prevent damage․ Replace worn eartips and cushions to maintain comfort and hygiene․ Avoid exposing the headset to extreme temperatures or moisture, as this can degrade performance․ Proper care ensures longevity, optimal sound quality, and consistent functionality․ Always follow the manufacturer’s guidelines for cleaning and storage to preserve your headset’s durability and effectiveness over time․
Cleaning and Sanitizing the Headset
For optimal hygiene and longevity, regularly clean your Plantronics headset․ Use a soft, dry cloth to wipe down the outer surfaces, paying attention to areas like the ear cushions and microphone․ For more thorough cleaning, lightly dampen the cloth with water, but avoid getting any moisture into electrical components or ports․ Avoid harsh chemicals, as they may damage the materials․ Detachable parts, such as ear cushions, can often be removed and cleaned separately․ Allow all parts to air dry completely before reassembling and using the headset․ Sanitize using electronic-safe wipes if necessary, ensuring no residue is left behind․ Regular maintenance helps maintain sound quality and prevents germ buildup․
Storing the Headset Properly
To maintain your Plantronics headset’s performance and longevity, store it in a cool, dry place away from direct sunlight and extreme temperatures․ Use the original packaging or a protective case to shield it from dust and physical damage․ For wireless models, avoid storing the headset with a fully charged or completely drained battery; instead, keep it at a partial charge․ Disconnect the headset from any devices and clean it before storage․ Avoid bending or twisting the cables, and consider using cable management accessories to keep them organized․ Proper storage ensures your headset remains functional and ready for use when needed․

Replacing Parts and Accessories

To maintain your Plantronics headset’s performance, replace worn or damaged parts promptly․ Eartips and earloops can be replaced by gently detaching the old ones and aligning the new ones securely․ For the microphone, ensure it is clean and free of debris․ If the microphone screen is damaged, replace it with a genuine Plantronics part․ Battery replacements should only use compatible, certified units to avoid damage․ Always purchase replacement accessories from authorized retailers to ensure compatibility and maintain warranty validity․ Regularly inspect cables and connectors for wear and tear, replacing them if necessary․ This ensures optimal functionality and longevity of your headset․