
Welcome to the Brother LS-2125i sewing machine instruction manual․ This guide provides comprehensive instructions to help you operate, maintain, and troubleshoot your machine effectively․
Overview of the Manual
This manual provides a comprehensive guide to understanding and operating the Brother LS-2125i sewing machine․ It covers installation, basic operations, maintenance, and troubleshooting․ The manual is divided into sections, including safety precautions, machine components, threading, stitch selection, and care tips․ With clear instructions and diagrams, it helps users master the machine’s features, ensuring optimal performance for both beginners and experienced sewists․ Detailed step-by-step guidance is included for ease of use․
Purpose and Scope
This manual is designed to assist users in understanding and utilizing the Brother LS-2125i sewing machine effectively․ Its purpose is to provide clear instructions for setup, operation, and maintenance, ensuring safe and efficient use․ The scope includes troubleshooting common issues, explaining machine components, and offering tips for optimal performance․ It serves as a complete reference for both novice and advanced users, helping them unlock the machine’s full potential and achieve professional results in their sewing projects․ Detailed guidance is provided for every aspect of machine operation․
Safety Precautions
Read all instructions before use․ To reduce electric shock risk, never leave the machine unattended or use it near water․ Keep children away and avoid loose clothing․ Use the correct power source and follow basic safety guidelines to ensure safe operation․
Electrical Safety
Always follow electrical safety guidelines when using the Brother LS-2125i sewing machine․ Read the manual carefully and ensure the machine is used in a dry environment․ Never expose it to water or moisture, as this can cause electric shock․ Use the correct power source and avoid overloading circuits․ Keep the machine out of reach of children and avoid wearing loose clothing that could get caught․ Never modify the machine or use damaged cords, as this can lead to electrical hazards․ Unplug the machine during maintenance or when not in use to ensure safety․
Basic Safety Guidelines
Always follow basic safety guidelines when using the Brother LS-2125i sewing machine․ Keep loose clothing, long hair, and jewelry away from moving parts․ Ensure children are supervised and do not touch the machine․ Use the correct needle for the fabric type to avoid breakage․ Handle sharp objects like needles and scissors with care․ Keep the work area clean and well-lit to prevent accidents․ Avoid sewing when tired or distracted to maintain control of the machine․
Understanding Your Machine
This section introduces you to the Brother LS-2125i sewing machine, highlighting its key features, components, and accessories to help you familiarize yourself with its operation and capabilities․
Machine Components
The Brother LS-2125i sewing machine features essential components like the needle, presser foot, bobbin, and spool pins․ These parts ensure smooth fabric handling and stitching․ The machine includes a built-in free arm for versatile sewing, while the stitch selector and tension dials allow precise control over stitch settings․ Accessories like additional presser feet and a sewing table expand its functionality, making it suitable for various sewing projects․
Accessories Included
The Brother LS-2125i comes with essential accessories, including various presser feet for specialized stitching, a sewing table for larger projects, and additional spool pins․ These components enhance functionality and versatility, allowing users to tackle diverse sewing tasks with ease․ Additional accessories like embroidery hoops and extension tables are also available, providing further creative possibilities for both beginners and experienced sewists․
Threading and Basic Operations
Learn how to thread the machine and wind the bobbin correctly․ This section guides you through basic sewing operations, ensuring smooth and efficient stitching from the start․
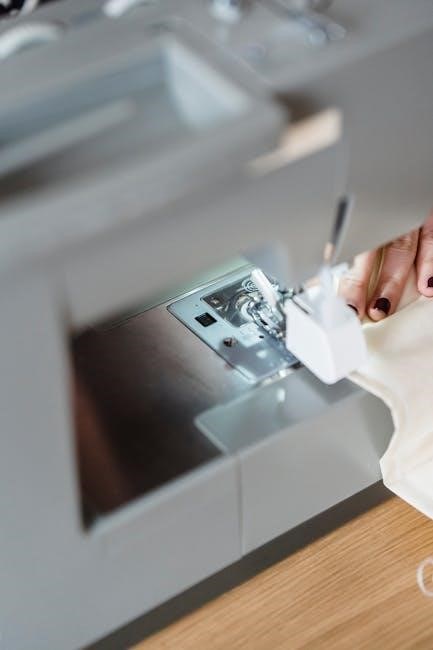
Threading the Machine
Proper threading is essential for smooth operation․ Start by turning the machine off and pressing the spool pin to raise it․ Thread the machine from the spool through the tension discs, ensuring it passes through the take-up lever and needle bar․ Use the needle threader for the final step․ Always pull gently to avoid twists and kinks․ Ensure the thread is securely seated in the tension spring before sewing․ Regularly check and adjust the thread tension for optimal stitching performance․
Bobbin Winding
Properly winding the bobbin ensures consistent stitching․ Place the thread on the spool pin and guide it through the tension disc․ Hold the thread end and press the foot pedal to start winding․ Keep the thread taut but not overly tight․ Stop when the bobbin is about 80% full․ Cut the excess thread and remove the bobbin․ Always use the correct thread type and size for your machine to ensure optimal performance․
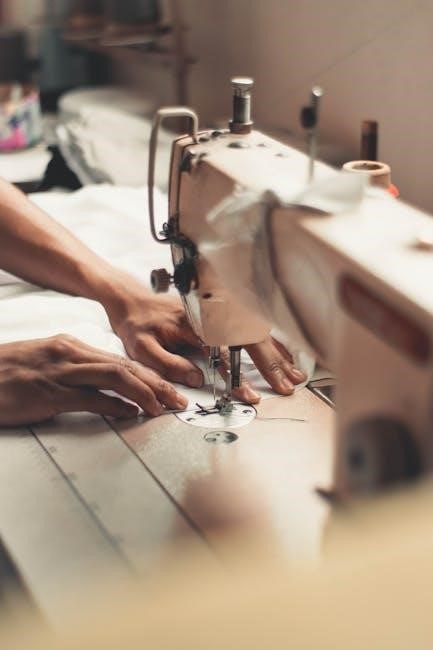
Basic Sewing Operations
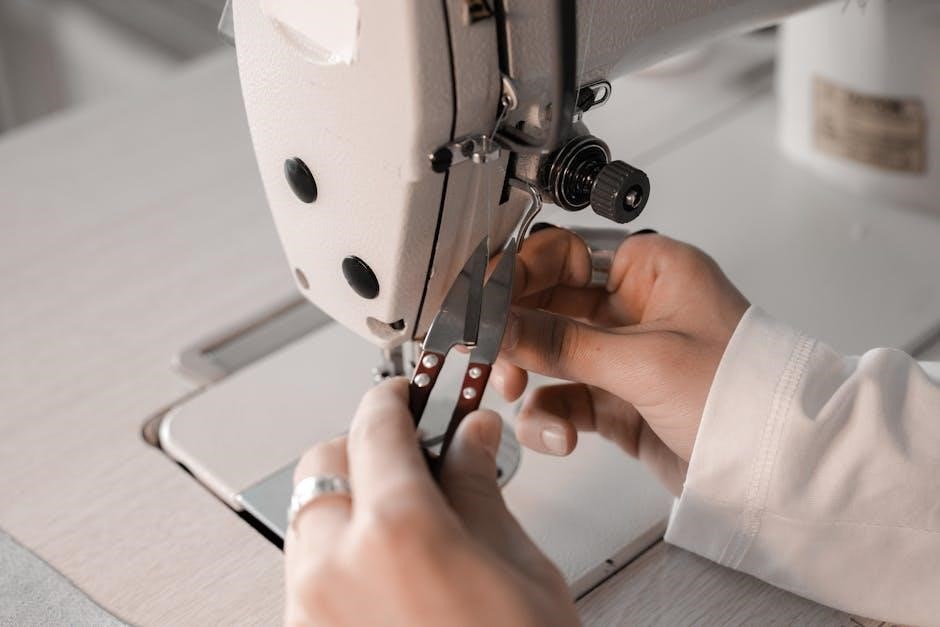
Start by threading the machine and winding the bobbin correctly․ Place the fabric under the needle, aligning the edge with the seam guide․ Gently press the foot pedal to begin sewing․ Maintain steady fabric movement to ensure straight stitches․ For reverse stitching, press the reverse button before sewing․ Always keep the fabric taut but not stretched․ Stop periodically to trim loose threads․ This ensures smooth, even stitching and professional results․
Stitch Selection and Adjustment
Select the desired stitch using the stitch selector dial․ Adjust stitch length and width as needed for your fabric type․ Proper tension ensures even stitching quality․
Choosing the Right Stitch
Selecting the correct stitch ensures professional results for various fabrics and projects․ Use the straight stitch for cotton and linen, zigzag for stretchy materials, and stretch stitches for knits․ Choose decorative stitches for embroidery or embellishments․ Refer to the stitch chart in your manual to match the stitch type with your fabric and project needs․ Proper stitch selection enhances sewing quality and durability․
Adjusting Stitch Length and Width
Adjust stitch length and width using the control dials on your Brother LS-2125i․ Turn the stitch length dial to increase or decrease the length, and the stitch width dial for width․ Default settings are ideal for most fabrics, but you can customize based on your project․ Test stitches on scrap fabric before sewing to ensure proper settings․ Refer to the stitch chart in your manual for fabric-specific recommendations․ Precise adjustments ensure optimal stitch quality and professional results․
Tension Adjustment
Adjust the thread tension on your Brother LS-2125i by turning the tension dials located on the machine․ The upper thread tension controls the thread’s tightness, while the bobbin tension ensures even stitching․ Proper tension prevents loose or tight stitches․ If stitches are uneven, slightly tighten or loosen the dials and test on scrap fabric․ Refer to your manual for specific guidance on achieving balanced tension for optimal sewing results․
Maintenance and Care
Regularly clean and oil your Brother LS-2125i to ensure optimal performance․ Use a soft brush to remove dust and debris from the machine․ Apply a few drops of sewing machine oil to moving parts, such as the shuttle hook and feed dogs, after every project․ Refer to the manual for specific maintenance schedules and guidelines to extend the machine’s lifespan․
Cleaning the Machine
Regular cleaning is essential to maintain your Brother LS-2125i’s performance․ Turn off and unplug the machine before cleaning․ Use a soft, dry brush to remove dust and debris from the exterior, bobbin area, and feed dogs․ Avoid using harsh chemicals or abrasive materials, as they may damage the machine’s finish․ Gently wipe surfaces with a clean, damp cloth if necessary․ Regular cleaning prevents dust buildup and ensures smooth operation․ Always refer to the manual for specific cleaning instructions to avoid damage․
Oiling and Lubrication
Regular lubrication is essential for smooth operation of the Brother LS-2125i․ Use only Brother-approved sewing machine oil to avoid damaging the internal components․ Apply a few drops to the shuttle hook and other moving metal parts as specified in the manual․ Oil the machine every 50 hours of use or when mechanical noise increases․ Avoid over-lubrication, as it can attract dust and reduce performance․ Proper lubrication ensures the machine’s longevity and optimal stitching quality․
Maintenance Schedule
Regular maintenance is crucial for the Brother LS-2125i to ensure optimal performance․ Clean the machine thoroughly after every use, paying attention to the bobbin area and feed dogs․ Lubricate moving parts every 50 hours or as needed․ Check for worn or damaged parts and replace them promptly․ Schedule professional servicing annually or after 400 hours of use․ Refer to the manual for detailed maintenance schedules and procedures to keep your machine running smoothly․

Troubleshooting Common Issues
This section provides solutions for common problems like the machine not turning on, thread breakage, and uneven stitching․ Refer to the manual for detailed troubleshooting guidance and solutions․
Machine Not Turning On
If your Brother LS-2125i sewing machine does not turn on, first ensure the power cord is securely plugged into a working outlet․ Check the circuit breaker or fuse box to confirm the outlet has power․ Verify that the power switch is functioning correctly and that no debris or damage is present․ Consult the manual for additional troubleshooting steps or contact Brother support for assistance if the issue persists․
Thread Breakage
Thread breakage can occur due to incorrect threading, improper tension, or using low-quality thread․ Ensure the thread path is clear and the take-up lever is in the correct position․ Check the tension settings and adjust them if necessary․ Use high-quality thread suitable for your fabric type․ If issues persist, refer to the manual for specific guidance or contact Brother support for further assistance․
Uneven Stitching
Uneven stitching may occur due to incorrect tension settings, improper needle alignment, or uneven fabric feeding․ Check and adjust the upper and lower thread tensions to ensure balance․ Verify the needle size and type match your fabric․ Ensure the fabric is fed smoothly and consistently․ If issues persist, consult the manual for tension adjustment guidance or contact Brother support for further troubleshooting assistance․