
The Harley rear wheel assembly is a critical component ensuring stability, performance, and style. It features durable materials, precise engineering, and customizable finishes to enhance your ride experience.
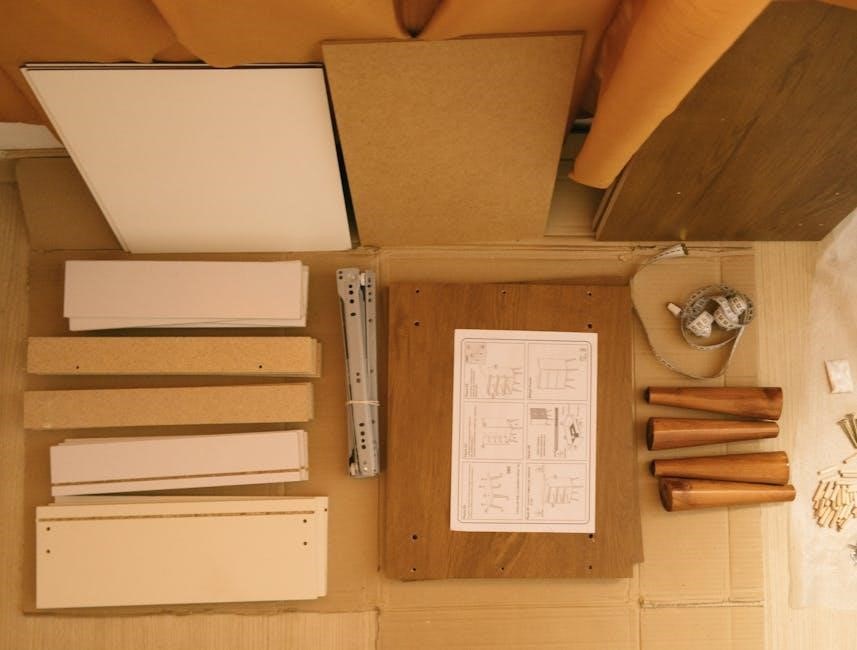
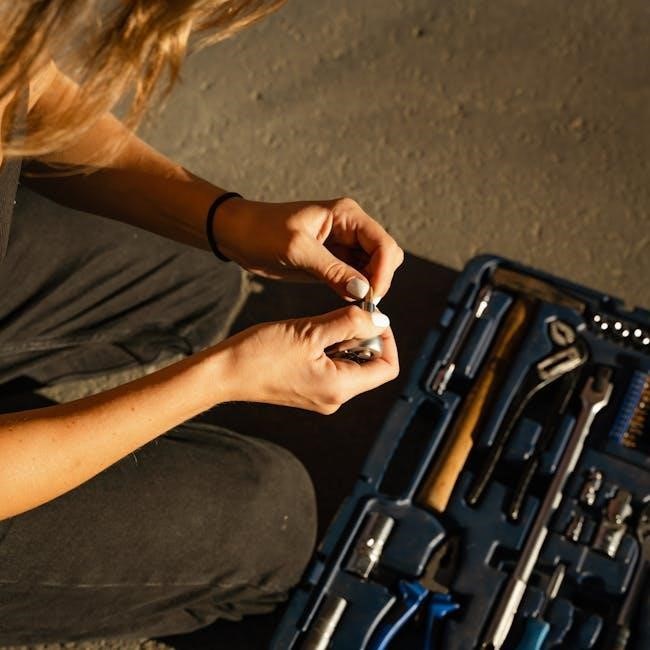
Overview of Tools and Parts Needed
To successfully assemble the Harley rear wheel, gather the necessary tools and components. Essential tools include a torque wrench, socket set, axle adjuster, and tire levers. Critical parts comprise the wheel rim, tire, brake rotor, caliper, axle, spacers, and wheel bearings. Ensure all components are compatible with your Harley model. Additional items like lubricants for bearings and a tire pressure gauge are recommended. Refer to your Harley service manual for specific torque values and assembly guidelines. Proper preparation and organization of these tools and parts will streamline the assembly process and ensure a secure, precise fitment of the rear wheel. Always verify compatibility and specifications to avoid assembly errors or safety risks.
Step-by-Step Assembly Guide
Begin by preparing the wheel, then install the tire, attach the brake rotor and caliper, and align the wheel with the frame. Secure all components tightly.
Preparing the Rear Wheel for Installation
Start by inspecting the rear wheel for any damage or debris. Clean the hub and axle area thoroughly to ensure proper fitment. Gather the necessary tools, including a torque wrench, tire levers, and axle spanners. If the wheel is new, remove any protective packaging and apply a thin layer of grease to the axle spindle. Ensure the wheel bearings are properly lubricated and seated. Check the tire for the correct pressure and inspect the tread for wear. Align the wheel with the frame, ensuring the disc brake rotor is facing the correct direction. Secure the wheel in a vice or sturdy work stand to prevent movement during installation. Double-check all components for proper alignment before proceeding to the next steps.
Attaching the Brake Rotor and Caliper
Begin by aligning the brake rotor with the rear wheel hub, ensuring it is securely fastened using the appropriate bolts. Tighten these bolts in a star pattern to maintain even pressure. Next, attach the brake caliper to the frame or swingarm, using the specified bolts and ensuring proper alignment with the rotor. Connect the brake lines, taking care to avoid air bubbles in the system. Bleed the brakes if necessary to ensure optimal performance. Finally, test the brakes by gently applying the lever to ensure they engage smoothly and evenly. Always refer to the service manual for torque specifications and specific instructions for your Harley model.
Installing the Tire on the Wheel Rim
Start by ensuring the wheel rim is clean and free of debris. Lubricate the tire bead with tire lube or soap to facilitate installation. Align the tire with the rim, ensuring the valve stem points outward. Use tire levers to carefully pry the tire onto the rim, working your way around the circumference. Inflate the tire slightly to seat the bead properly, then check for leaks using soap or another method. Inflate to the recommended pressure, found in the Harley manual or on the tire’s sidewall. Double-check the tire’s alignment and security. Consider a test ride to ensure everything feels right. Always refer to the service manual for model-specific instructions and use appropriate tools to avoid damage. Safety is crucial, so ensure all steps are followed correctly to prevent issues while riding.
Aligning and Securing the Rear Wheel
Proper alignment and securement of the rear wheel are essential for safety and performance. Begin by ensuring the wheel is centered and evenly spaced within the swingarm. Tighten the axle nut gradually, alternating sides to maintain even pressure. Use a torque wrench to reach the specified torque value from the Harley manual. Check the cam-type adjuster (for 2007 and later models) to ensure proper alignment and tension. Tighten the axle cotter pin and safety clip for added security. Finally, inspect the wheel for any wobble or misalignment by spinning it gently. Refer to the service manual for specific torque specifications and alignment procedures. A misaligned or loosely secured wheel can lead to unsafe riding conditions, so ensure all steps are followed meticulously.
Maintenance and Inspection
Regular maintenance ensures optimal performance and longevity. Clean and lubricate wheel bearings, inspect brake components, and check tire pressure and tread depth for safe operation.
Cleaning and Lubricating the Wheel Bearings
Cleaning and lubricating the wheel bearings is essential for maintaining smooth operation and preventing premature wear. Start by removing the wheel and disassembling the hub to access the bearings. Use a solvent to thoroughly clean the bearings, ensuring all dirt and old grease are removed. Once clean, apply a high-quality, moisture-resistant grease specifically designed for motorcycle wheel bearings. Reassemble the hub and ensure all components are properly aligned and secured. Regular lubrication intervals, as specified in your service manual, will help maintain optimal performance and extend the life of the bearings. Proper maintenance ensures a smooth ride and prevents unexpected issues while on the road.
Inspecting the Brake System Components
Inspecting the brake system components is crucial for ensuring safety and optimal performance. Start by examining the brake rotor for excessive wear, warping, or scoring. Check the rotor thickness using a micrometer and compare it to the manufacturer’s specifications. Next, inspect the brake caliper for any signs of leakage, damage, or misalignment. Ensure the caliper slides freely and does not bind, as this can affect braking efficiency. Additionally, evaluate the brake pads for wear, replacing them if they are worn below the minimum threshold. Finally, inspect the brake lines for any signs of damage, cracks, or corrosion, and ensure all connections are secure. Regular inspections help identify potential issues early, preventing unsafe conditions and maintaining reliable braking performance. Always refer to your Harley-Davidson service manual for specific guidelines and recommendations.
Checking Tire Pressure and Tread Depth
Proper tire pressure and tread depth are essential for safety, handling, and performance. Always check tire pressure when the tire is cold, using a high-quality pressure gauge. Refer to your Harley-Davidson owner’s manual for the recommended pressure specification, as it varies by model and load conditions. Underinflated tires can lead to poor handling, reduced fuel efficiency, and increased risk of failure. For tread depth, use a tire depth gauge to measure the deepest part of the tread. Most states require a minimum tread depth of 1/16 of an inch. Inspect the tread for uneven wear patterns, which may indicate alignment issues or worn suspension components. Replace tires when tread is worn down to the wear bars or shows signs of cracking or damage. Regular checks ensure optimal performance and safety on the road.

Troubleshooting Common Issues
Identify and address issues like tire leaks, noise, or wobble by inspecting the rear wheel assembly. Consult your instructional guide for detailed diagnostic and repair steps.
Addressing Rear Wheel Wobble or Misalignment
A rear wheel wobble or misalignment can significantly affect your motorcycle’s stability and safety. Common causes include loose wheel bearings, improper tire pressure, or misaligned spindle nuts. To diagnose, check the wheel bearings for wear and ensure the tire is inflated to the recommended pressure. Inspect the spindle and axle alignment, as misalignment can cause uneven tire wear and vibration. For correction, tighten all fasteners securely and realign the wheel using a professional wheel alignment tool. If issues persist, consult a Harley-Davidson service manual or seek assistance from a certified mechanic to ensure proper adjustment and safety.
- Inspect wheel bearings for wear or looseness.
- Check and adjust tire pressure to the manufacturer’s specifications.
- Verify spindle and axle alignment for proper positioning.
- Tighten all fasteners securely to prevent movement.
- Use a wheel alignment tool to ensure accurate adjustment.
Fixing Leaks in the Tire or Wheel
Identifying and repairing leaks in the tire or wheel is essential for maintaining safety and performance. Start by inspecting the tire for visible punctures or damage. If a puncture is found, remove the tire and apply a patch or plug to the inner liner. For valve stem leaks, replace the valve core or entire stem if damaged. If the wheel itself is leaking, check for cracks or corrosion and seal or replace it as needed. Always inflate the tire to the recommended pressure and test for leaks by submerging it in water or using a tire pressure gauge. Regular inspections and proper maintenance can prevent future issues and ensure a smooth ride.
- Inspect for punctures or damage.
- Apply patches or plugs for minor punctures.
- Replace valve cores or stems if leaking.
- Seal or replace cracked wheels.
- Test for leaks after repairs.
Diagnosing Noise from the Rear Wheel
To diagnose noise from the rear wheel, start by identifying the source. Common causes include worn bearings, misaligned brakes, or uneven tire wear. Inspect the wheel bearings for damage or corrosion and clean them if necessary. Check the brake rotor for warping and ensure the caliper is properly aligned. If the noise persists, examine the tire for uneven wear patterns or punctures. Loose bolts or nuts on the wheel or axle can also cause vibration and noise. Use a torque wrench to ensure all components are securely fastened. If the issue remains unresolved, consult a professional mechanic for further inspection and repair.
- Inspect wheel bearings for wear or corrosion.
- Check brake rotor alignment and condition.
- Look for uneven tire wear or punctures.
- Verify all bolts and nuts are tightened properly.

Customization Options
Harley rear wheels offer various customization options, including finishes like chrome, black, or vibrant colors, and upgrades to aftermarket wheels for enhanced style and performance.
Choosing the Right Finish for Your Rear Wheel
Selecting the perfect finish for your Harley rear wheel enhances both style and durability. Popular options include chrome, black, red, blue, and gold, each offering a unique aesthetic appeal. Chrome finishes provide a sleek, classic look, while black finishes deliver a rugged, modern appearance. Red, blue, and gold finishes add vibrant, eye-catching detail. Consider your motorcycle’s overall color scheme and personal style when making your choice. Additionally, some finishes, like chrome, may require more maintenance to prevent rust or corrosion. For a bold statement, consider aftermarket options or custom designs. Always ensure the finish aligns with your bike’s model and year for compatibility. Consulting a Harley-Davidson dealer or customization guide can help you make the best choice for your ride.
Upgrading to Aftermarket Rear Wheels
Upgrading to aftermarket rear wheels offers enhanced style, performance, and customization for your Harley-Davidson. Options like chrome, black, or vibrant finishes allow you to personalize your bike’s appearance. Aftermarket wheels are designed to fit specific Harley models, ensuring compatibility and ease of installation. Many feature durable materials, such as steel or aluminum, for improved strength and longevity. Some designs, like the H-D Roulette Contrast Cut 18-inch rear wheel, combine sleek aesthetics with superior performance. Additionally, aftermarket wheels can improve suspension performance, as seen with Progressive Suspension rear shocks. When upgrading, consider factors like load capacity, brake compatibility, and tire fitment. Always consult a professional for installation to ensure safety and optimal functionality. This upgrade can elevate your bike’s visual appeal and riding experience, making it truly unique.
Proper assembly, maintenance, and customization of the Harley rear wheel are essential for ensuring optimal performance, safety, and style. Following the step-by-step guide and adhering to manufacturer specifications will help maintain your bike’s integrity. Regular inspections and timely replacements of worn components, such as tires and brake systems, are crucial for reliability. Customization options like aftermarket wheels and finishes allow riders to personalize their motorcycles, enhancing both aesthetics and functionality. Whether upgrading for performance or style, always consult Harley-Davidson’s official resources and consider professional assistance for complex modifications. By prioritizing quality and adherence to guidelines, you can enjoy a smooth, safe, and memorable riding experience. Remember, your Harley is more than a bike—it’s a statement of freedom and individuality.