
Kenmore 70 Series Dryer Manual: A Comprehensive Guide
This comprehensive guide provides essential information for Kenmore 70 Series dryer owners, covering installation, operation, maintenance, and repair resources.
It details accessing official manuals,
safety precautions, and troubleshooting common issues, ensuring optimal dryer performance and longevity.
DIY repair options and parts sourcing are also explored.
Understanding Your Kenmore 70 Series Dryer
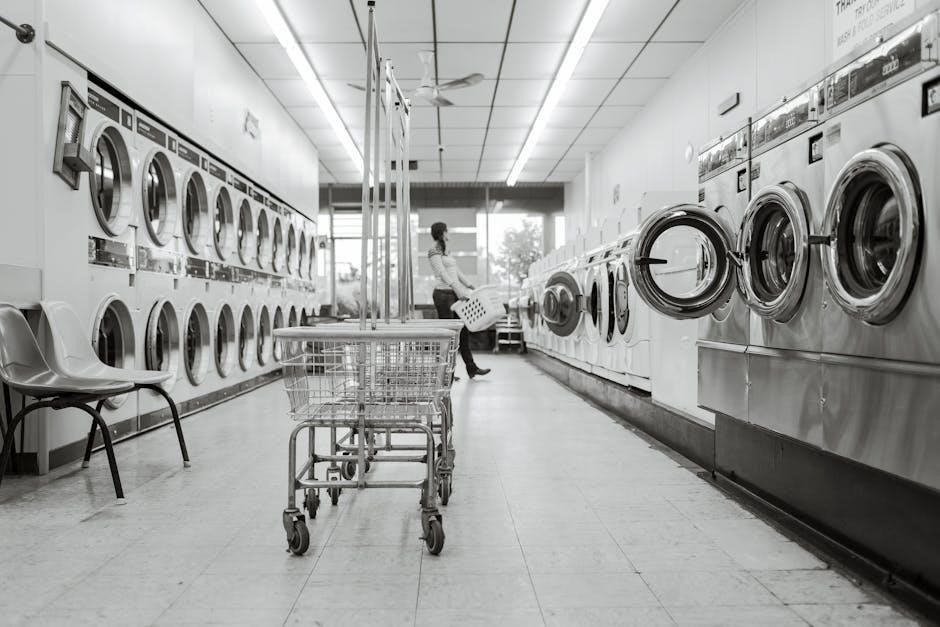
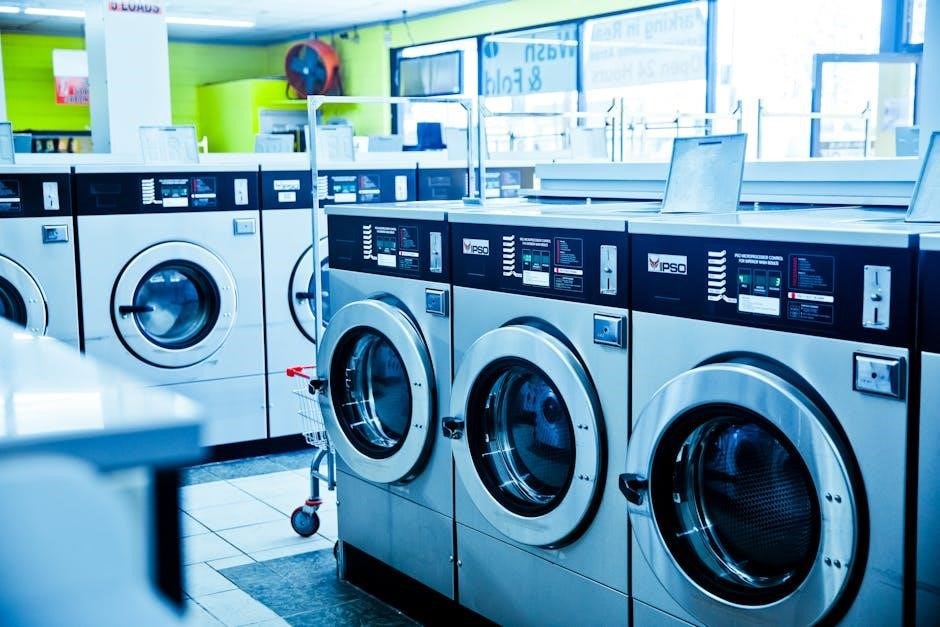
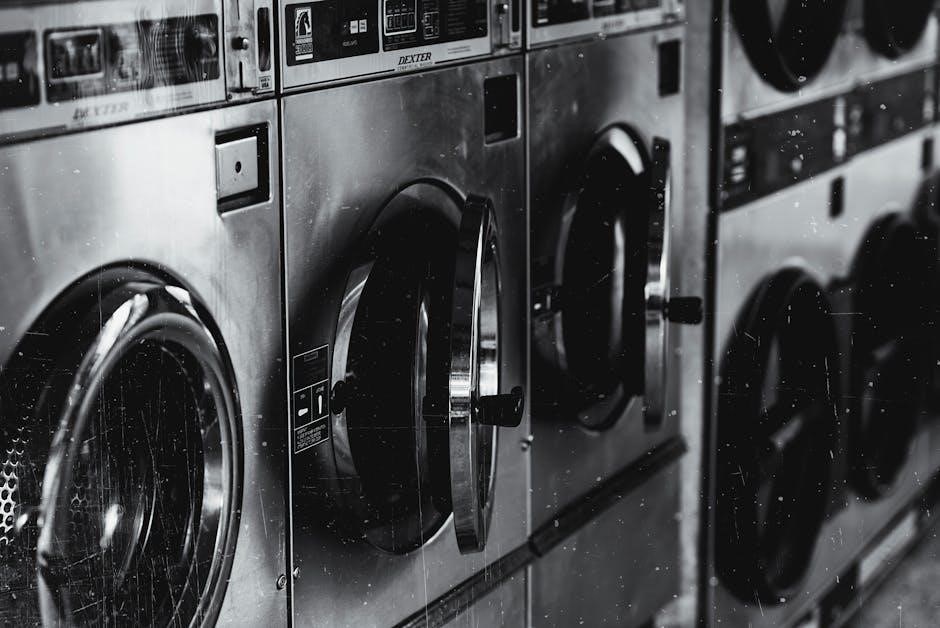
The Kenmore 70 Series dryer is designed for reliable performance and efficient clothes drying. Familiarizing yourself with its features and components is crucial for safe and effective operation. These dryers, available in both gas and electric models, offer a range of cycles to accommodate various fabric types and drying needs.
Understanding the dryer’s control panel, including cycle selections and options, allows for customized drying. Knowing where to locate the model and serial number plate – essential for obtaining specific manuals and replacement parts – is also vital.
Proper ventilation is key to preventing moisture buildup and ensuring optimal drying efficiency. Regular maintenance, such as cleaning the lint filter and vent, contributes significantly to the dryer’s lifespan and performance. This guide will help you navigate these aspects, maximizing your Kenmore 70 Series dryer’s potential.
Model and Serial Number Location
Locating your Kenmore 70 Series dryer’s model and serial numbers is essential for accessing specific documentation, ordering replacement parts, and receiving accurate customer support. These numbers uniquely identify your appliance, ensuring you get the correct information for your particular unit.
Typically, the Model and Serial Number Plate is found within the dryer cabinet. Look for a label usually located on the inside of the dryer door frame, or on the back panel. You may need to carefully inspect the area, as the plate can sometimes be positioned in a less obvious location.
Record these numbers in a safe place, as you’ll need them when contacting Sears, accessing online manuals, or purchasing parts through Sears PartsDirect. Having this information readily available streamlines any service or repair process, ensuring a quicker and more efficient resolution to any issues.
Accessing the Official Kenmore Manuals
Obtaining the official Kenmore 70 Series dryer manual is crucial for understanding your appliance’s features, operating instructions, and safety guidelines. Several avenues exist for accessing this important documentation.
Firstly, Sears, as the manufacturer of Kenmore appliances, is a primary source. Their website, Sears PartsDirect, often hosts downloadable manuals. You’ll need your dryer’s model number to locate the correct manual. Alternatively, contacting Sears customer support directly can provide access to digital or physical copies.
Furthermore, various online appliance resource websites compile manuals from different manufacturers. A simple web search using your dryer’s model number and “manual” will yield numerous results. Remember to verify the source’s credibility before downloading.
These manuals offer detailed insights into your dryer’s operation and maintenance, ensuring optimal performance and safety.
Safety Precautions Before Use
Prioritizing safety is paramount when operating your Kenmore 70 Series dryer. Before initial use, and regularly thereafter, adhere to these crucial precautions. Always ensure the dryer is properly installed, with correct gas supply (if applicable) and ventilation, preventing carbon monoxide buildup or fire hazards.
Never operate the dryer if it’s damaged, particularly the gas line or electrical components. Disconnect the power supply before any inspection or maintenance. Keep flammable materials, such as liquids and lint, away from the dryer. Do not overload the dryer, as this can strain the motor and create a fire risk.
Supervise children closely when they are near the dryer. Regularly clean the lint filter after each load to maintain airflow and prevent fires. Finally, familiarize yourself with the dryer’s emergency shut-off procedures, ensuring a swift response in unforeseen circumstances.
Installation Procedures
Proper installation is crucial for safe and efficient operation. This section details gas and electric dryer specifics, gas line requirements, and essential ventilation guidelines for optimal performance.
Gas Dryer Installation Specifics
Gas dryer installation requires meticulous attention to safety and code compliance. Begin by ensuring the burner Btu rating, found on the model/serial number plate, is adjusted for elevation increases – each 1,000 ft (305 m) necessitates a rating adjustment. Essential components include a 3/8 inch flexible gas connector, a pipe-to-flare adapter fitting, and a minimum 1/8 NPT plugged tapping on the gas supply line.
A 1/2 NPT gas supply line and a functioning gas shutoff valve are also mandatory. Crucially, a qualified technician should perform all gas line connections and leak tests. After connecting the gas line, carefully stand the dryer upright on its feet, ensuring stability before proceeding with ventilation and electrical connections. Always consult local gas codes and regulations for specific requirements in your area. Improper installation can lead to hazardous conditions.
Electric Dryer Installation Specifics
Electric dryer installation demands adherence to electrical codes for a safe and functional setup. Begin by verifying the dryer’s voltage requirements match your home’s electrical supply – typically 240V. A dedicated circuit is essential, preventing overloading and potential hazards. Ensure the circuit breaker is appropriately sized for the dryer’s amperage draw, as specified on the model/serial number plate.
Proper grounding is paramount; connect the dryer to a grounded electrical outlet. Avoid using extension cords or adapters. After electrical connection, carefully position the dryer, ensuring adequate ventilation space around the unit. Refer to the installation instructions for specific clearance requirements. Record the model and serial number for future reference and warranty claims. Always prioritize safety and consult a qualified electrician if unsure about any aspect of the installation process.
Gas Supply Line Requirements
Connecting a gas dryer necessitates strict adherence to gas line safety standards. Utilize a 3/8 inch flexible gas connector, approved for dryer use, to connect the dryer to the gas supply. A pipe-to-flare adapter fitting is crucial for a secure connection. The gas supply line must be ½ inch NPT, equipped with a gas shutoff valve for emergency access and maintenance.
Crucially, ensure a gas leak test is performed after connection, using a soap and water solution to check for bubbles at all joints. The burner Btu rating, found on the model/serial number plate, dictates adjustments needed for elevation increases – requiring a higher Btu rating for every 1,000 ft. above sea level. Professional installation is highly recommended to guarantee safety and compliance with local codes. Never attempt gas line work without proper training and certification.
Ventilation Requirements
Proper dryer ventilation is paramount for safety and efficient operation. The Kenmore 70 Series dryer must be vented to the outdoors, preventing moisture and lint buildup, which pose fire hazards. Use rigid metal or flexible metal ducting, with a smooth interior, and avoid plastic or foil venting. The duct length should be minimized for optimal airflow; excessive length reduces drying performance.
Ensure the vent is not crushed or kinked, and that all connections are securely fastened with clamps. Regularly inspect the vent for obstructions like lint accumulation or bird nests. Outdoor vent terminations should have a proper damper to prevent backdrafts. Following these guidelines ensures safe and effective dryer operation, minimizing fire risk and maximizing drying efficiency. Consult local building codes for specific ventilation requirements in your area.
Operating Instructions
Effectively utilize your Kenmore 70 Series dryer by understanding the control panel, cycle selections, load size guidelines, and proper detergent/softener usage for optimal results.
Control Panel Overview
The Kenmore 70 Series dryer’s control panel is designed for intuitive operation, offering a range of cycles to suit various fabric types and drying needs. Typically, you’ll find a cycle selector dial allowing you to choose from settings like Normal, Delicate, Heavy Duty, and Timed Dry.
Temperature settings, often indicated by heat levels (High, Medium, Low, Air Dry), are crucial for preventing damage to clothes. Digital models may feature push-button controls and an LED display showing cycle progress and remaining time.
Additional options frequently include wrinkle shield, which periodically tumbles clothes after the cycle ends to minimize creases, and a moisture sensor that automatically stops the dryer when clothes reach the desired dryness level. Familiarize yourself with the specific features of your model by referencing the owner’s manual for detailed explanations of each control and setting.
Cycle Selection Guide
Choosing the correct cycle is vital for optimal drying and fabric care with your Kenmore 70 Series dryer. The Normal cycle suits everyday cottons and linens. For delicate items like lingerie and synthetics, the Delicate or Gentle cycle uses lower heat. Heavy Duty is ideal for towels, jeans, and bulky items requiring higher temperatures and longer drying times.
Timed Dry allows you to manually set the drying time, useful for small loads or items needing a specific drying duration. Permanent Press minimizes wrinkles in wrinkle-resistant fabrics. An Air Dry or No Heat cycle is perfect for refreshing clothes or drying items that shouldn’t be exposed to heat.
Always consult garment care labels before selecting a cycle. Over-drying can damage fabrics, while under-drying leaves clothes damp. Experiment with cycles to find what works best for your laundry needs.
Load Size Recommendations
Optimizing load size is crucial for efficient drying and preventing damage to your Kenmore 70 Series dryer. Avoid overloading, as this restricts airflow, leading to longer drying times and potential overheating. A good rule of thumb is to fill the drum approximately one-third to one-half full.
Smaller loads are recommended for heavy items like blankets and comforters, ensuring they tumble freely. Larger loads are suitable for lightweight items like shirts and underwear. Mixing heavy and light items in the same load can result in uneven drying.
Overloading can strain the dryer’s motor and heating element, potentially shortening its lifespan. Regularly check the lint filter to maintain optimal airflow. Adjust load size based on fabric type and desired dryness level.
Detergent and Fabric Softener Usage
While your Kenmore 70 Series dryer doesn’t directly use detergent, proper laundry detergent usage during the washing cycle significantly impacts drying efficiency. Excess detergent residue can transfer to the dryer, potentially causing buildup and reducing performance.
Fabric softener can be used during the wash cycle, but avoid using dryer sheets excessively. Overuse of dryer sheets can leave a residue on the moisture sensors, hindering their ability to accurately detect dryness levels. This leads to longer drying times or clothes remaining damp.
Consider using liquid fabric softener sparingly or exploring alternatives like dryer balls to reduce static cling and soften fabrics. Always follow the detergent and fabric softener manufacturer’s instructions for optimal results and to prevent damage to your clothes and dryer.
Troubleshooting Common Issues
This section addresses frequent problems with your Kenmore 70 Series dryer, including failure to start, lack of heat, excessive noise, and prolonged drying times—offering solutions.
Dryer Not Starting
If your Kenmore 70 Series dryer isn’t starting, several potential causes should be investigated. First, verify the power supply: ensure the dryer is properly plugged into a functioning outlet and that the circuit breaker hasn’t tripped. A simple reset of the breaker can often resolve this issue.
Next, check the door switch. The dryer won’t operate if the door isn’t securely closed and the switch engaged. Inspect the switch for damage and ensure it’s making proper contact. Another common culprit is a blown thermal fuse, a safety device that cuts power if the dryer overheats. This requires testing with a multimeter.
Furthermore, examine the drive belt. If it’s broken or slipped off the motor pulley, the drum won’t turn, preventing the dryer from starting. Finally, a faulty timer or electronic control board could also be the reason. These components may require professional diagnosis and repair. Remember to disconnect power before any inspection!
Dryer Not Heating
If your Kenmore 70 Series dryer isn’t heating, the issue likely lies within the heating system. Begin by checking the gas supply (for gas dryers) – ensure the gas valve is open and there are no leaks. For electric dryers, verify the voltage reaching the heating element. A multimeter is essential for this test.
A blown heating element is a frequent cause of no heat. This component will require replacement. Another potential issue is a faulty thermal fuse or thermostat, safety devices that prevent overheating. These should be tested for continuity. Inspect the igniter (gas dryers) for cracks or damage; a weak igniter won’t properly light the burner.
Also, examine the flame sensor (gas dryers), which confirms a stable flame. A malfunctioning sensor can shut off the gas supply. Remember to disconnect power before any inspection and consult a qualified technician if you’re uncomfortable working with gas or electrical components.
Excessive Noise During Operation
Unusual noises from your Kenmore 70 Series dryer often indicate mechanical issues. A worn drum support roller or idler pulley are common culprits, creating squealing or grinding sounds. Inspect these components for wear and tear, replacing them as needed. A worn blower wheel can cause a roaring noise, and may require replacement.
Foreign objects lodged in the blower housing or lint duct can also generate rattling or thumping sounds. Thoroughly clean these areas, removing any debris. Check the motor for unusual noises, which could signal bearing failure. A failing motor often requires professional repair or replacement.
Ensure the dryer is level; an uneven dryer can vibrate excessively. Tighten any loose screws or panels. Always disconnect power before inspecting internal components. If the noise persists after these checks, consult a qualified appliance technician for diagnosis and repair.
Clothes Taking Too Long to Dry
Prolonged drying times with your Kenmore 70 Series dryer usually point to airflow restrictions or heating element problems. A clogged lint filter is the most frequent cause; clean it before every load. A blocked dryer vent significantly reduces airflow, extending drying times and posing a fire hazard – inspect and clean the entire vent system regularly.
If airflow isn’t the issue, a faulty heating element may be the culprit; Test the element for continuity using a multimeter; a break indicates replacement is necessary. A malfunctioning thermostat or thermal fuse can also prevent the dryer from heating properly. These components should be tested and replaced if defective.
Overloading the dryer restricts airflow and increases drying time. Follow load size recommendations. Ensure the correct cycle is selected for the fabric type. If problems persist, professional service may be required.
Maintenance and Care
Regular maintenance ensures optimal performance and extends the life of your Kenmore 70 Series dryer. Key tasks include lint filter cleaning, drum inspection, and vent maintenance.
Cleaning the Lint Filter
Maintaining a clean lint filter is paramount for safe and efficient dryer operation. After each load, remove the lint filter – typically located inside the dryer drum near the door – and gently remove the accumulated lint. Use your fingers or a soft brush; avoid using abrasive cleaners.
A clogged lint filter restricts airflow, leading to longer drying times, increased energy consumption, and a potential fire hazard. Periodically, wash the lint filter with warm water and mild detergent to remove any residue from fabric softeners or dryer sheets, which can coat the filter and reduce its effectiveness. Ensure the filter is completely dry before reinstalling it.
Inspect the lint filter regularly for any damage, such as tears or holes. A damaged filter allows lint to escape into the dryer’s internal components, potentially causing malfunctions. Replace a damaged filter immediately to maintain optimal performance and safety.
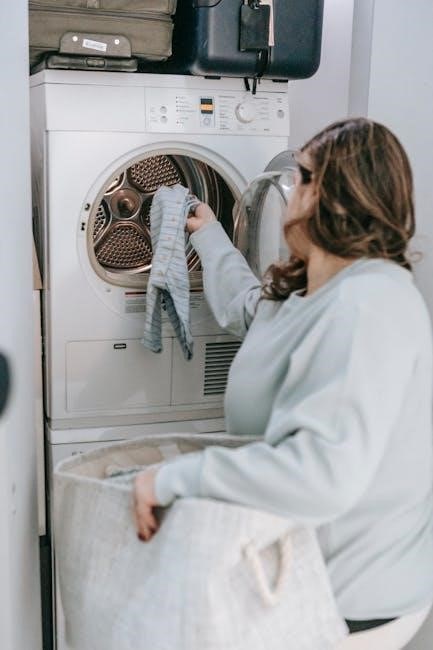
Cleaning the Dryer Drum
Regularly cleaning the dryer drum helps remove residue from detergents, fabric softeners, and clothing, maintaining optimal drying performance and preventing odors. Monthly, or more frequently with heavy use, wipe down the interior of the drum with a damp cloth.
For stubborn residue, mix a solution of warm water and mild detergent. Apply the solution to the drum’s interior and let it sit for a few minutes before wiping clean. Avoid using abrasive cleaners, as they can damage the drum’s finish. Ensure the drum is thoroughly rinsed and dried before using the dryer again.
Occasionally, inspect the drum for any small objects that may have fallen through the lint filter. Remove any items found to prevent damage to clothing or the dryer itself. A clean drum contributes to efficient drying and extends the life of your Kenmore 70 Series dryer.
Inspecting and Cleaning the Vent
A clogged dryer vent poses a significant fire hazard and reduces drying efficiency. At least annually, or more often with extended use, thoroughly inspect and clean the entire dryer vent system. Disconnect the dryer from power before beginning.
Start by detaching the vent from the back of the dryer and the wall. Use a vent cleaning brush kit to remove lint buildup from inside the vent. Vacuum the loosened lint from both ends of the vent. Inspect the exterior vent hood for obstructions like bird nests or debris, removing any blockages.
Ensure the vent is not crushed or kinked, as this restricts airflow. Reconnect the vent securely, ensuring a tight seal. A clear vent improves drying times, reduces energy consumption, and most importantly, prevents dangerous fire risks. Prioritize vent maintenance for safety and performance.
Long-Term Storage Instructions
Preparing your Kenmore 70 Series dryer for extended storage requires careful steps to prevent damage and ensure future functionality. First, disconnect the dryer from both the power and gas (if applicable) supplies. Thoroughly clean the dryer drum and lint filter, removing all traces of lint and debris to prevent mold growth.
Next, leave the dryer door slightly ajar to allow for ventilation and prevent mildew. Consider placing a desiccant packet inside the drum to absorb any residual moisture. Protect the exterior of the dryer with a dust cover or plastic sheeting. Store the dryer in a dry, indoor location, away from extreme temperatures and humidity.
Before reconnecting and using the dryer after storage, inspect the gas line (if applicable) for leaks and ensure the vent is clear of obstructions. A little preparation ensures a smooth return to operation.
Repair Resources
Accessing repair information for your Kenmore 70 Series dryer is straightforward. DIY manuals, parts diagrams, and Sears PartsDirect offer solutions. Professional service is also available;
DIY Repair Manual Availability
For the hands-on homeowner, readily available DIY repair manuals significantly simplify Kenmore 70 Series dryer maintenance and troubleshooting. Resources like the “Do It Yourself Repair Manual for Kenmore Dryers (Gas/Electric)” – found on platforms such as Amazon.com – offer easy-to-follow, step-by-step procedures accompanied by detailed illustrations.
These manuals are invaluable for diagnosing common issues and performing repairs without the immediate need for a professional technician. They cover a wide range of problems, from minor fixes to more complex component replacements. Furthermore, many online resources and appliance repair websites provide supplemental guides and videos to aid in the repair process. Accessing these resources empowers owners to address dryer malfunctions efficiently and cost-effectively, extending the appliance’s lifespan and saving on potential service call fees.
Finding Replacement Parts
Securing genuine replacement parts is crucial for maintaining the performance and safety of your Kenmore 70 Series dryer. Sears PartsDirect emerges as a primary resource, offering a comprehensive catalog of components specifically designed for Kenmore appliances. Utilizing your dryer’s model and serial number – located on the Model and Serial Number Plate – ensures accurate part identification and compatibility.
Beyond Sears PartsDirect, numerous online retailers specialize in appliance parts, providing a broader selection and competitive pricing. When sourcing parts, prioritize genuine Kenmore components to guarantee quality and proper fit. Carefully review part diagrams and descriptions to confirm the correct item before purchasing. Properly installed replacement parts restore functionality, prevent further damage, and extend the dryer’s operational life, ensuring continued reliable performance.
Sears PartsDirect Website
The Sears PartsDirect website (searspartsdirect.com) serves as a dedicated online platform for sourcing replacement components for Kenmore appliances, including the 70 Series dryer. This resource streamlines the process of finding the correct parts, utilizing your appliance’s model and serial number for precise matching. The website’s intuitive interface allows users to search by model, part number, or keyword, accompanied by detailed diagrams and descriptions.
Sears PartsDirect offers a vast inventory of genuine Kenmore parts, ensuring compatibility and quality. Customers benefit from competitive pricing, secure online ordering, and convenient shipping options. The site also provides helpful resources, such as repair guides and troubleshooting tips, empowering DIY repairs. Leveraging Sears PartsDirect simplifies the parts procurement process, enabling efficient and cost-effective dryer maintenance and restoration.
Professional Repair Service Options
When DIY repair proves challenging, or for complex issues with your Kenmore 70 Series dryer, professional repair services offer a reliable solution. Sears Home Services provides expert technicians experienced in diagnosing and repairing Kenmore appliances, offering in-home service for convenience. Alternatively, local appliance repair companies can deliver skilled assistance, often with faster response times.
Before scheduling service, gather your dryer’s model and serial number for accurate diagnosis and part ordering. Obtain quotes from multiple providers, inquiring about labor rates, diagnostic fees, and warranty coverage. Ensure the technician is licensed and insured for peace of mind. Professional repair guarantees qualified expertise, proper diagnosis, and safe, effective repairs, restoring your dryer to optimal functionality and extending its lifespan.