
Oster Roaster Oven User Guide: A Comprehensive Overview
Welcome! This guide provides essential instructions for safe and effective use of your Oster roaster oven;
It details features, operation, maintenance, and warranty information for optimal performance.
Important: Always read all instructions before initial use to prevent fire, shock, or injury.
Congratulations on selecting an Oster Roaster Oven! This versatile appliance expands your cooking capabilities, offering a convenient solution for roasting, baking, and warming large meals. Designed for ease of use and efficiency, your new roaster oven is perfect for holiday gatherings, family dinners, or any occasion requiring substantial food preparation.
This user guide is designed to familiarize you with your roaster oven’s features and functions. It provides detailed instructions on setup, operation, safety precautions, and maintenance to ensure years of reliable service. Please take the time to thoroughly review this manual before first use. Remember, safety is paramount – always adhere to the electrical safety guidelines and precautions outlined within.
Sunbeam Products, Inc., doing business as Jarden Consumer Solutions, distributes this product with a commitment to quality and customer satisfaction. For product questions, contact their USA support line at 1-888-233-3214. Warranty details and further information can be found at www.oster.com.
Understanding Key Features
Your Oster Roaster Oven boasts several key features designed for optimal cooking performance. It includes adjustable temperature controls, allowing precise heat settings for various recipes – from slow cooking to high-temperature roasting. The spacious interior comfortably accommodates large turkeys, roasts, or multiple dishes simultaneously.
Many models feature a convenient self-basting system, continuously circulating juices to keep your food moist and flavorful. Removable roasting racks and drip pans simplify food handling and cleanup. Durable construction ensures long-lasting reliability, while cool-touch handles provide safe operation.
Important Safety Note: This appliance generates heat during use; Never touch hot surfaces; always utilize handles or knobs. Avoid immersing the cord, plugs, or appliance in liquids to prevent electrical shock. Proper understanding of these features and safety guidelines will enhance your cooking experience.

Setting Up Your Roaster Oven
Preparation is key! Carefully unpack your oven, inspect for damage, and ensure proper ventilation. Connect to a grounded outlet before first use.
Unboxing and Initial Inspection
Carefully unpack your new Oster roaster oven from its packaging. Retain the box and packing materials for potential future transport or storage needs. Thoroughly inspect the appliance for any visible signs of damage that may have occurred during shipping.
Check for dents, scratches, or broken parts. Ensure all components are present, including the roasting pan, rack, and any included accessories. Verify the power cord is intact and free from damage. Do not operate the oven if any damage is detected.
If damage is present, do not attempt to use the appliance. Contact customer support immediately at 1-888-233-3214 for assistance. Prior to first use, wipe down the interior and exterior surfaces with a damp cloth to remove any dust or residue from the manufacturing process. This ensures a clean and safe cooking environment.
Placement and Ventilation Requirements
Proper placement is crucial for safe and efficient operation of your Oster roaster oven. Position the oven on a stable, heat-resistant surface, away from flammable materials such as curtains, paper towels, or wooden cabinets. Ensure there is adequate ventilation around the appliance.
Maintain a minimum clearance of at least 6 inches on all sides – top, back, and sides – to allow for proper airflow. Do not place the oven directly under cabinets, as the heat generated during use could cause damage. Avoid placing the oven near water sources or in damp environments.
Ensure the surface is level to prevent uneven cooking. Never operate the roaster oven on a carpeted surface. The oven generates significant heat; a hard, non-flammable surface is essential for safety. Avoid obstructing the ventilation openings during operation.
Powering On and Initial Testing
Before your first use, thoroughly inspect the roaster oven and ensure the power cord is undamaged. Plug the oven into a grounded electrical outlet – do not use an extension cord. Turn the temperature control knob to the lowest setting (usually “Warm” or a low temperature).
Observe the indicator light; it should illuminate, confirming the oven is receiving power. Allow the oven to run on the lowest setting for approximately 15-20 minutes to burn off any manufacturing residues. A slight odor during this initial burn-off is normal.
Increase the temperature gradually to test the temperature control’s accuracy. Monitor the oven to ensure it heats up as expected. If any unusual noises, smells, or malfunctions are detected, immediately unplug the oven and contact customer support at 1-888-233-3214.
Operating Instructions
Master your Oster roaster! This section details temperature controls, cooking times, self-basting, and versatile functions—roasting, baking, and warming—for delicious results.
Temperature Control Settings
Precise temperature control is key to successful roasting and baking. Your Oster roaster oven features a wide temperature range, typically from 150°F to 450°F (65°C to 232°C). Use the control knob to select the desired temperature, ensuring it aligns with your recipe’s specifications.
For slow cooking and warming, utilize the lower temperature settings (150°F — 300°F). These are ideal for keeping food warm for extended periods without overcooking. Roasting meats generally requires higher temperatures (325°F — 400°F) to achieve a crispy exterior and juicy interior. Baking cakes and pastries typically falls within the 350°F, 375°F range.
Always preheat the roaster oven before adding food for consistent results. Monitor the internal temperature of your food with a meat thermometer to ensure it reaches a safe and desired level of doneness. Remember that cooking times will vary depending on the weight and thickness of the food.
Cooking Time Guidelines for Various Foods
Estimating cooking times is crucial for perfectly prepared meals. A typical roast chicken (4-6 lbs) requires approximately 1.5, 2 hours at 325°F. Larger roasts, like a 7-9 lb turkey, may take 3-4 hours. Ham benefits from slower cooking – plan for 15-20 minutes per pound at 325°F.
For baking, a 9×13 inch cake generally needs 50-60 minutes at 350°F. Cookies may bake in 10-15 minutes, depending on size and desired crispness. Potatoes typically take 45-60 minutes at 400°F.
These are estimates; always check for doneness using a meat thermometer or by testing with a fork. Adjust cooking times based on the specific weight and thickness of your food. Remember that the self-basting feature can slightly alter cooking times, potentially reducing them. Consistent monitoring is key!
Using the Self-Basting Feature
The self-basting feature simplifies cooking, ensuring moist and flavorful results. Simply pour approximately 1-2 cups of liquid (broth, water, or marinade) into the well located at the bottom of the roaster oven. The oven automatically cycles the liquid, basting the food as it cooks.
This eliminates the need for manual basting, saving you time and effort. However, monitor the liquid level periodically, especially during longer cooking times, and replenish as needed. Avoid overfilling the well to prevent boiling over.
For optimal results, use the self-basting feature with poultry and roasts. It’s particularly effective for keeping larger cuts of meat moist. Remember that utilizing this feature may slightly reduce overall cooking time, so check for doneness earlier than anticipated.
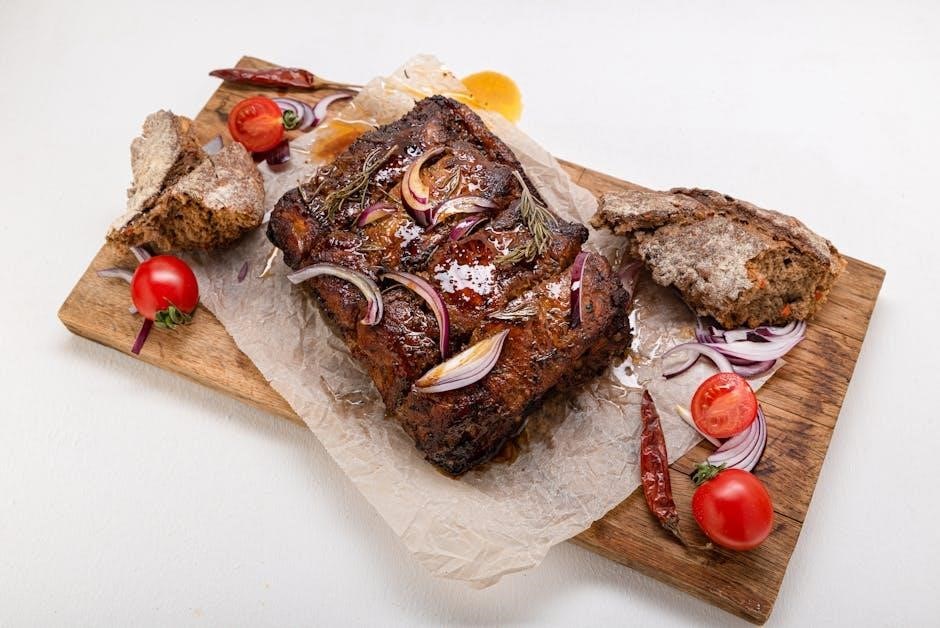
Roasting, Baking, and Warming Functions
Your Oster roaster oven offers versatile functionality beyond traditional roasting. The roasting setting is ideal for poultry, beef, and pork, delivering crispy exteriors and juicy interiors. Utilize the baking setting for casseroles, breads, and desserts – adjust temperature and time as you would with a conventional oven.
The warming function is perfect for keeping cooked food at serving temperature without overcooking. Set the oven to the ‘Warm’ setting after cooking is complete. Avoid leaving food unattended for extended periods on the warm setting.
Experiment with different recipes! The roaster oven’s spacious interior accommodates large dishes. Remember to always use oven-safe cookware and follow recommended cooking times and temperatures for best results. Proper temperature control is key to successful roasting, baking, and warming.

Safety Precautions
Prioritize safety! Always unplug the roaster oven when not in use, and never immerse the cord in liquid. Supervise children closely during operation.
Caution: Surfaces become hot during use – utilize handles and knobs to avoid burns.
Electrical Safety Guidelines
Protect yourself from electrical hazards. This Oster roaster oven, like all electrical appliances, requires careful handling to ensure safe operation. Never operate the appliance with a damaged cord or plug; immediately discontinue use and contact customer support for repair or replacement. Do not attempt to modify the plug in any way.
Ensure the roaster oven is properly grounded. Avoid using extension cords whenever possible; if one is absolutely necessary, select a heavy-duty cord rated to handle the appliance’s wattage. Always unplug the oven from the outlet when not in use, before cleaning, or when adding/removing parts. To disconnect, turn the control to ‘OFF’ then unplug – never pull on the cord itself.
Avoid operating the appliance in damp or wet environments. Keep the cord away from hot surfaces. If the appliance malfunctions or exhibits any signs of damage, do not attempt self-repair; contact authorized service personnel. Following these guidelines minimizes the risk of electric shock and ensures safe operation.
Preventing Burns and Injuries
Exercise extreme caution during operation. The Oster roaster oven generates significant heat and presents a burn risk. Always use oven mitts or pot holders when handling hot surfaces, including the roasting pan, rack, and the oven exterior. Avoid touching hot surfaces directly.
Be mindful of steam escaping from the oven, especially when self-basting or cooking foods with high moisture content. Keep your face and body at a safe distance when opening the lid. Supervise children closely when the oven is in use, and never allow them to operate it unsupervised. Ensure the oven is stable and placed on a level surface to prevent tipping.
Allow the oven to cool completely before cleaning or storing. Do not attempt to move the oven while it’s hot. Proper handling and awareness of hot surfaces will significantly reduce the risk of burns and injuries during use.
Supervision Around Children
Child safety is paramount when operating your Oster roaster oven. This appliance is not intended for use by children. Close and constant supervision is absolutely necessary whenever the oven is in use near children. The exterior surfaces become extremely hot during operation, posing a significant burn risk.
Children should never be allowed to play with the oven or its components. Keep children away from the oven during cooking and cooling periods. Explain the dangers of a hot appliance and the importance of maintaining a safe distance. Ensure the power cord is kept out of reach to prevent accidental pulling or tripping.
Even with supervision, children may not fully understand the hazards. Therefore, it’s best to prevent access to the oven altogether when it’s in use. Prioritize a safe cooking environment for everyone in the household.
Proper Cord and Plug Handling
Electrical safety is crucial when using your Oster roaster oven. Never operate the appliance with a damaged cord or plug. Inspect them thoroughly before each use. If damage is detected, do not attempt to repair it yourself; return the oven to the manufacturer for examination or replacement, as per the warranty.
Always disconnect the oven from the outlet when not in use, before cleaning, or when adding/removing parts. To disconnect, turn the controls to the “OFF” position first, then unplug the cord from the wall outlet. Never pull on the cord itself to disconnect – grasp the plug firmly.
Avoid bending or kinking the power cord, and keep it away from hot surfaces. Do not operate the oven with an extension cord. Ensure the outlet is easily accessible and the cord doesn’t create a tripping hazard. Improper cord handling can lead to electrical shock or fire.

Cleaning and Maintenance
Regular cleaning ensures longevity and optimal performance. Disassemble removable parts for easy cleaning. Always unplug and allow the oven to cool completely before maintenance.
Disassembling Removable Parts
Before cleaning, carefully disassemble the removable components of your Oster roaster oven. This typically includes the roasting pan, the rack, and potentially the drip pan, depending on your model. Ensure the oven is completely cool and unplugged before beginning this process.
Gently lift the roasting pan out of the oven cavity. The rack can then be lifted from within the pan. If your model features a drip pan, locate it beneath the roasting pan and slide it out. Refer to your specific model’s diagram (often found within the full user manual available at oster.com) for precise instructions.
Avoid using abrasive cleaners or scouring pads on any of these parts, as they can damage the non-stick coating. Disassembling these parts allows for thorough cleaning and prevents food buildup, ensuring optimal cooking performance and extending the life of your appliance.
Cleaning the Interior and Exterior
To clean the interior of your Oster roaster oven, begin by wiping down the inside with a damp, soft cloth. For stubborn food residue, create a paste of baking soda and water, apply it to the affected areas, and let it sit for a short period before gently scrubbing. Avoid abrasive cleaners, as they can damage the interior coating.
For the exterior, wipe down the surface with a damp cloth and mild dish soap. Ensure the oven is unplugged and cool before cleaning. Do not immerse the oven, cord, or plug in water. Pay attention to the control panel, wiping gently to avoid damaging the buttons or display.
Refer to the full manual at oster.com for detailed cleaning guidance. Regular cleaning maintains hygiene and extends the lifespan of your roaster oven.
Proper Storage Techniques
Before storing your Oster roaster oven, ensure it is completely cool, clean, and dry. Disconnect the power cord and store it separately to prevent damage. Avoid wrapping the cord tightly around the appliance.
For long-term storage, consider placing the roaster oven in its original packaging or a sturdy box to protect it from dust and physical impacts. Store it in a cool, dry place, away from direct sunlight and extreme temperatures. Avoid storing it in damp environments like basements or garages.

Keep the oven upright during storage to prevent any potential residue from leaking. Regularly inspect the stored oven for any signs of damage or deterioration. Refer to oster.com for further details.
Troubleshooting Common Issues
If your Oster roaster oven isn’t heating: First, ensure it’s properly plugged into a functioning outlet. Check the temperature setting and confirm it’s set correctly. If the issue persists, the heating element may have failed – do not attempt to repair it yourself.
For uneven cooking: Ensure the oven is level and the food is positioned centrally. Avoid overcrowding the roasting pan. Rotate the pan halfway through cooking for more consistent results.
If the self-basting feature isn’t working: Verify the water reservoir is filled and properly seated. A clogged reservoir can also cause issues. Important: If you encounter electrical issues or suspect a malfunction, immediately unplug the appliance and contact Oster customer support at 1-888-233-3214 or visit oster.com.

Warranty Information
Oster provides a warranty covering defects in materials and workmanship. Visit oster.com for complete coverage details and registration.
Coverage Details
Your Oster roaster oven warranty, as detailed on oster.com, protects against manufacturing defects for a specified period from the date of original purchase. This typically covers issues arising from normal household use, including malfunctions of heating elements or operational components.
However, the warranty does not cover damage resulting from misuse, accidents, unauthorized repairs, or failure to follow operating instructions. Normal wear and tear, such as cosmetic blemishes or minor part degradation, is also excluded. Proof of purchase is required to validate any warranty claim.
To initiate a claim, contact Oster Customer Support (1-888-233-3214) for guidance. They will assess the issue and determine if it falls under warranty coverage, potentially arranging for repair or replacement. Modifications to the appliance void the warranty.
Contacting Customer Support
Need assistance with your Oster roaster oven? Our dedicated customer support team is ready to help! For product questions, troubleshooting, or warranty inquiries, you can reach us via phone at 1-888-233-3214. Please have your model number and date of purchase readily available to expedite the process.
Alternatively, visit our comprehensive support website at www.oster.com. Here, you’ll find frequently asked questions, downloadable manuals (like the CKSTRS20-SBHVW_17EM3.pdf), and helpful video tutorials.
For written correspondence, you can contact Sunbeam Products, Inc. (doing business as Jarden Consumer Solutions) at Boca Raton, Florida 33431. Please allow ample time for a response. We are committed to providing excellent customer service and ensuring your satisfaction with your Oster product.
Registering Your Product

Protect your investment and stay informed! Registering your new Oster roaster oven unlocks valuable benefits, including exclusive updates on product enhancements, special offers, and important safety notifications. Registration also streamlines the warranty claim process should you ever need to utilize it.
It’s quick and easy! Simply visit our website at www.oster.com and navigate to the “Register Your Product” section. You will need your model number (found on the appliance itself or the original packaging) and proof of purchase (receipt or invoice).
Alternatively, you can register by mailing a copy of your proof of purchase and a note including your contact information to Sunbeam Products, Inc. at Boca Raton, Florida 33431. Registering your Oster roaster oven demonstrates your ownership and ensures you receive the full support and benefits available to you. Don’t delay – register today!